Introduction to FDM 3D Printing for Beginners
3D printing, especially for 3D printing beginners, can seem like a magical technology just like how they portrayed it in the media. In reality, it encompasses various technologies, with Fused Deposition Modeling (FDM) being the most widespread and commonly discussed among beginners.
FDM works by using thermoplastic filament, a type of plastic cord that can be melted, selectively deposited, and cooled. This iterative process builds layer upon layer until the complete 3D model takes shape.
Initially developed for rapid prototyping, FDM remains a popular choice for beginners due to its ability to swiftly produce prototypes. It has emerged as a powerful solution for manufacturing as well.
It’s worth noting that some sources may use the term “FFF” (Fused Filament Fabrication) instead of “FDM.” Both terms refer to the same technology, but “FDM” is the more commonly used term today.
Now, let’s explore the details and learn how FDM works for 3D printing beginners!
Understanding the Process
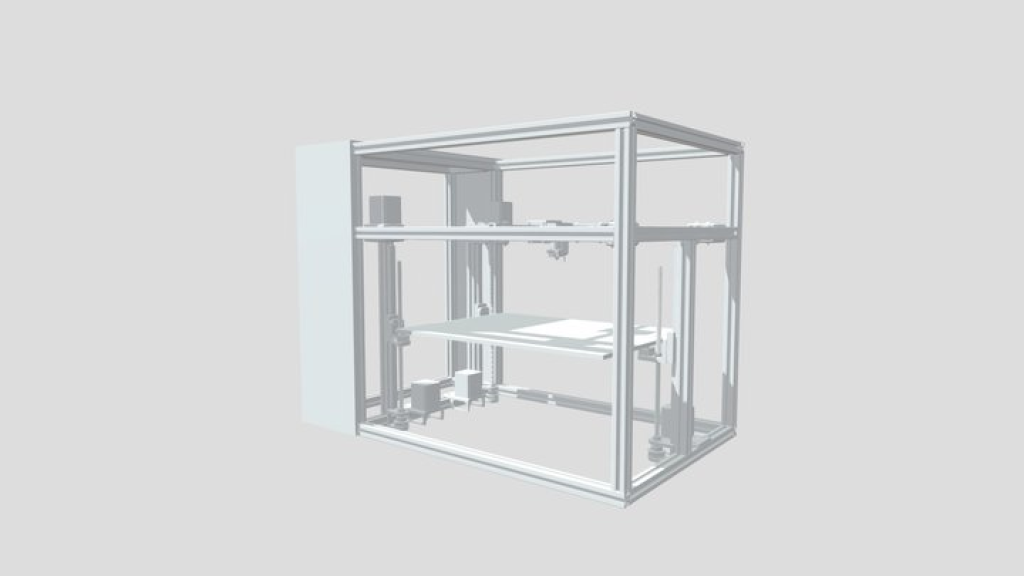
Understanding how FDM 3D printing works becomes easier when we familiarize ourselves with the essential components of an FDM 3D printer. Most printers operate using three axes: X, Y, and Z, where X and Y handle horizontal movements, and Z manages vertical movement.
Let’s explore the main components of a 3D printer:
1. Build Platform: Also known as the print bed, this is where the 3D printed parts are created. Build platforms often come with heated beds to aid in better adhesion of the parts.
2. Extruder: The extruder is responsible for pulling and pushing the filament through the printhead. It consists of two parts:
a) Cold End: This mechanical portion includes a motor and drive gears that move the filament.
b) Hot End: Comprising a heater and nozzle, the hot end heats and extrudes the filament.
3. Printhead(s): A printer may have one or more printheads, with a heatsink and fan between the hot and cold ends to keep the system cool and prevent jams. Additionally, a part cooling fan cools the filament after extrusion.
4. Control Interface: Modern 3D printers may have a touchscreen or LCD display with a scroll and click wheel for control, along with SD card slots and USB ports for file transfer.
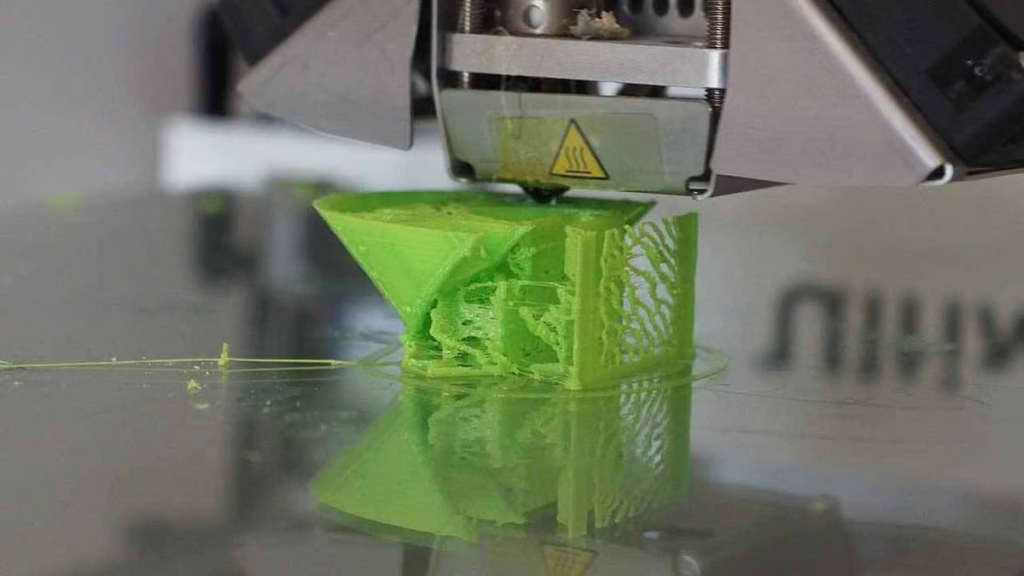
The 3D printing process starts when a 3D model file is sent to the printer. The file contains instructions for temperature settings, nozzle movements, and filament extrusion. The printer heats the nozzle and pushes the filament into the hot end. The printhead then deposits molten filament layer by layer on the build surface, cooling and solidifying it. The printhead moves up along the Z-axis after each layer until the 3D model is complete.
Finding and Designing 3D Models
To getting started 3D printing a part, you first need a 3D model of that part. These models are created using 3D modeling software like CAD (computer-aided design) programs. Examples of popular software include Fusion 360, SolidWorks, and Blender. However, these programs can be complex for beginners.
For those new to 3D printing and looking to get started, simpler options like Tinkercad, an easy-to-use online app by Autodesk, are available. It requires no prior experience and is perfect for beginners.
If you don’t want to create your own models, various websites serve as repositories for 3D models. Some popular ones, ideal for beginners getting started with 3D printing, include Thingiverse, Cults, Printables, MyMiniFactory, and CGTrader. These platforms offer both free and paid models for download.
Preparing Your Models
When learning how to start 3D printing, it’s essential to understand that after creating your 3D model in design software, the next step involves preparing it with slicing software, also known as a slicer. This specialized software translates the model into machine instructions (G-code), which is vital for 3D printing.
Once you import your 3D model into the slicer, you can customize various settings to suit your requirements. Key parameters like printing speed, temperature, wall thickness, infill percentage, and layer height can be adjusted using the slicer.
The resulting file consists of G-code, which serves as the “language” understood by 3D printers and CNC machines. In essence, G-code is a detailed list of instructions that the 3D printer follows to build your model. Without G-code files, 3D printing would be impossible.
Two important aspects controlled by the slicer are supports and infill:
1. Supports: The slicer analyzes your model to determine if support material is needed, especially for parts with challenging overhangs. You have the flexibility to choose where to place supports and adjust their density for easier removal or enhanced stability.
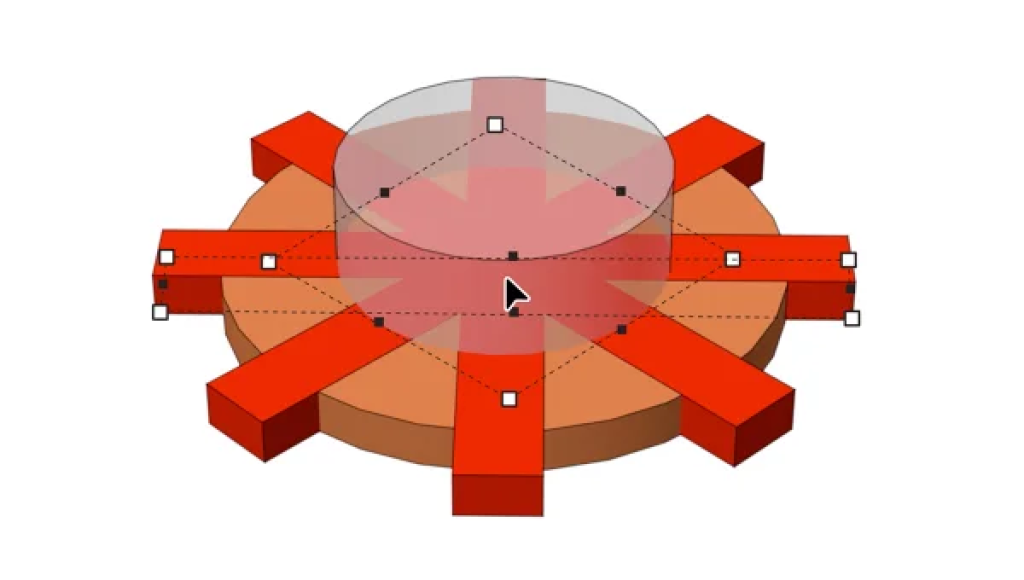
2. Infill: This setting significantly affects your 3D prints. Infill refers to the internal filling of a part and plays a vital role in its strength, weight, and print time. Within the slicer, you can adjust infill density as a percentage, where 0% means hollow and 100% means solid. For standard prints, an infill density of 15-50% is usually recommended. Higher infill densities make parts stronger but require more filament and longer print times. Moreover, you can choose different infill patterns, such as lightning, line, zig-zag, grid, triangle, cubic, gyroid, or octet, to suit your specific printing needs.
Understanding and utilizing these slicing software features will significantly improve the quality and success of your 3D prints.
Setting Up Your Printer
After slicing a 3D model, there are a couple of crucial steps that need to be completed before the 3D printer is ready to start printing when learning how to 3D print :
1. Loading Filament: The extruder must be prepared to extrude filament before the printing process begins. This involves heating the hot end to the filament’s molten temperature, usually above 175 °C, depending on the filament type. Once the hot end is heated, the filament is loaded into the extruder. Many printers have pre-configured operations to guide users through this process.
2. Bed Leveling: For accurate filament deposition and successful printing, it is vital that the build platform is level. Bed leveling can be either manual or automatic, depending on the printer model. This step is crucial because if the print bed is too far from the nozzle, the first and most important layer won’t adhere properly, leading to a failed print.
Exploring Different Materials
Filaments for 3D printing are available in two different diameters: 1.75 mm and 3 mm (or 2.85 mm). They also come in various spool sizes, with common options being 500 g, 750 g, 1 kg, 2 kg, and 3 kg.
One of the greatest advantages of FDM 3D printers is their compatibility with a wide range of filament types. Some commonly used filament types in FDM 3D printing include:
1. PLA, ABS, and PETG: These are cost-effective and easy-to-work-with options.
2. Flexible Filaments (TPU, TPE), Nylon, Filled Filaments (wood, metal, etc.), and Polycarbonate (PC): These offer unique properties for specific applications.
3. PVA or HIPS: These can be used for providing soluble supports when the printer is capable of extruding multiple materials.
Filaments used in FDM 3D printing are generally affordable, making them one of the most cost-effective materials in the 3D printing world. To explore more about the most popular 3D printing filament types, refer to our filament guide. The guide provides insights into their uses, properties, and where to purchase them.
Post-Printing Techniques
Post-processing is the final step of the 3D printing process and may involve the following common steps:
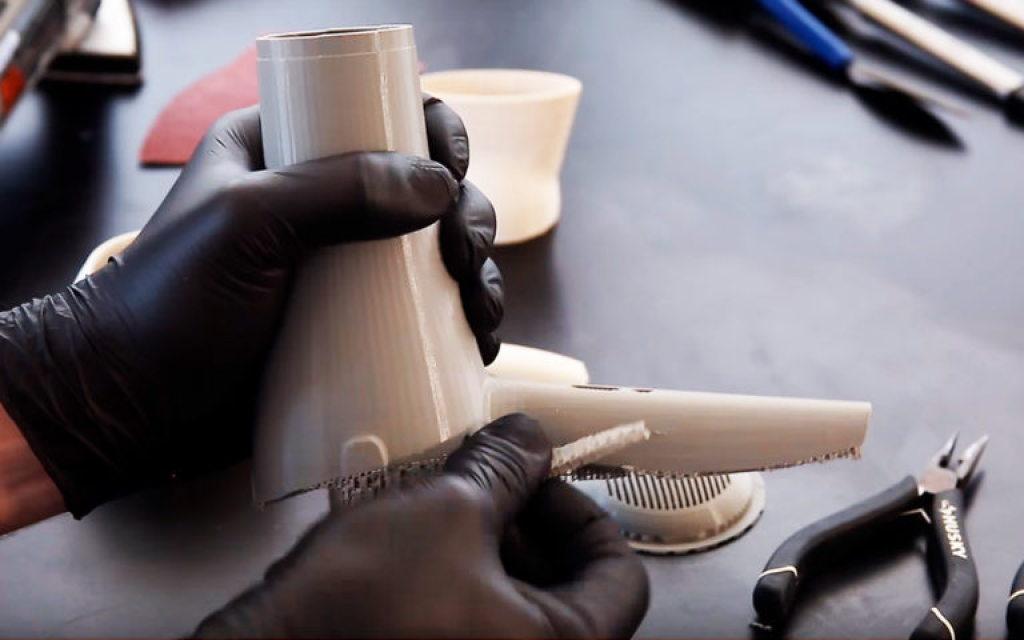
1. Removing Supports: After printing, it’s common to remove any excess support material, which may leave marks on the part’s surface.
2. Sanding: To remove blemishes, including those from support material removal, light sanding can be done to make the surface smoother.
3. Painting: If you printed in a single color and desire additional colors, details, or protection, painting your model is a great option.
4. Polishing or Smoothing: Certain filaments, like ABS, work well with processes like vapor smoothing or epoxy coating, achieving a smooth and glossy finish.
5. Welding or Gluing: For large 3D models that don’t fit within the printer’s build volume, printing the part in multiple pieces and later gluing them together is a practical solution.
For more in-depth information about post-processing, especially for beginners, explore our post-processing guide. It provides valuable insights into enhancing the quality and appearance of your 3D printed parts.
Troubleshooting Tips
Common issues beginners may encounter when starting 3D printing include:
1. Warping: Material shrinking and pulling from the build plate, causing layers to peel away.
2. Stringing: Thin, unwanted filament strands caused by incorrect settings or filament type.
3. Nozzle Jams: Clogging in the nozzle, leading to poor extrusion or weird sounds from the printhead.
4. Layer Shifting: Slight wobbling or high printing speed causing misaligned layers.
5. Under-Extrusion: Insufficient filament extrusion, resulting in gaps between layers.
6. Over-Extrusion: Excessive filament extrusion, causing drooping layers and poor print results.
These issues can be resolved with adjustments to settings, temperature regulation, and using quality filament.
Maintaining a Clean Workspace
Like any tool, 3D printers require regular maintenance to ensure optimal performance. Here are some essential maintenance tasks to consider:
1. Bed Cleaning: Wipe the print bed after each print and use warm, soapy water for stubborn marks or glue residue.
2. Nozzle Cleaning: Clean the nozzle before starting each print with a brush or cloth.
3. Stray Filament Collection: Remove any stray filaments in the build area before printing.
Effective Storage Solutions
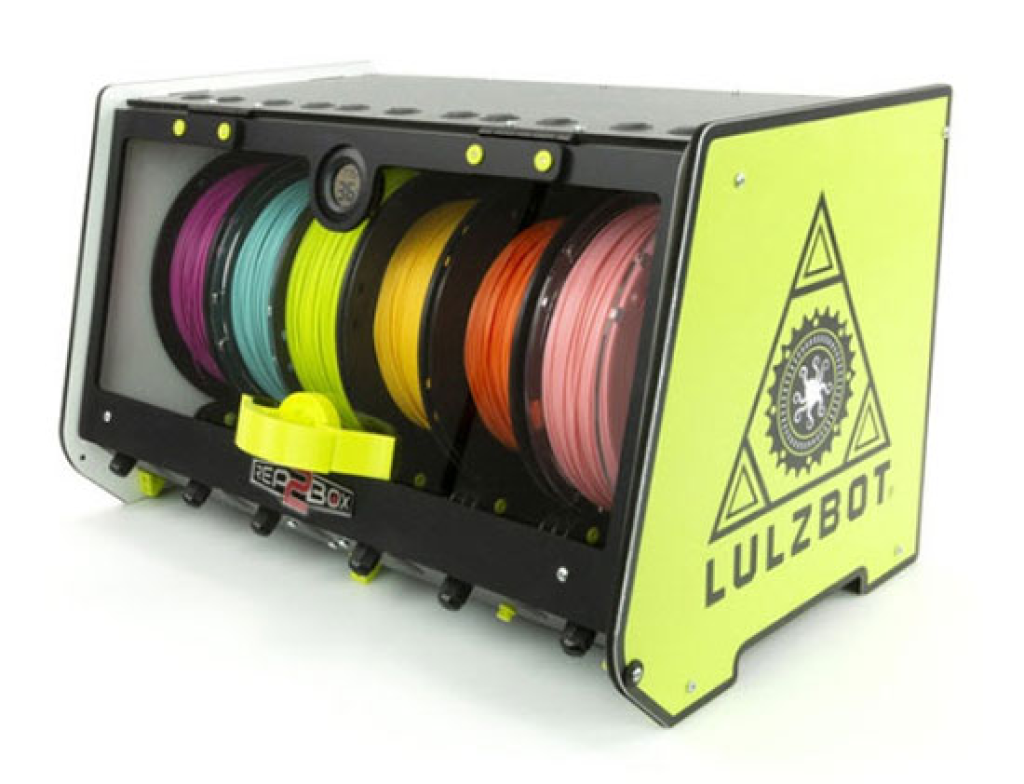
Filament storage is vital for 3D printing, especially when dealing with multiple spools. Dust and moisture can harm the filament’s properties if left exposed on a desk for a while.
To protect filaments, consider using filament containers, vacuum bags, or filament dryers to prevent dust accumulation and moisture absorption. Safely storing filament ensures better print results and preserves filament quality. For more details, explore our article on ways to store filament securely.
Conclusion
In conclusion, if you’re wondering how to get into 3D printing, starting with FDM is an excellent choice. This beginner-friendly technology offers a straightforward and accessible entry point into the world of 3D printing.
As you embark on your 3D printing journey, be prepared for potential challenges, such as bed leveling, supports, and filament settings. However, with regular maintenance and a grasp of common troubleshooting techniques, you can overcome these hurdles and achieve successful 3D prints.
Choose the right filament for your projects and consider post-processing techniques to refine your prints. With practice and continuous learning, you’ll gain confidence and expertise in the art of 3D printing.