Guide on How to Format SD Cards for 3D Printer
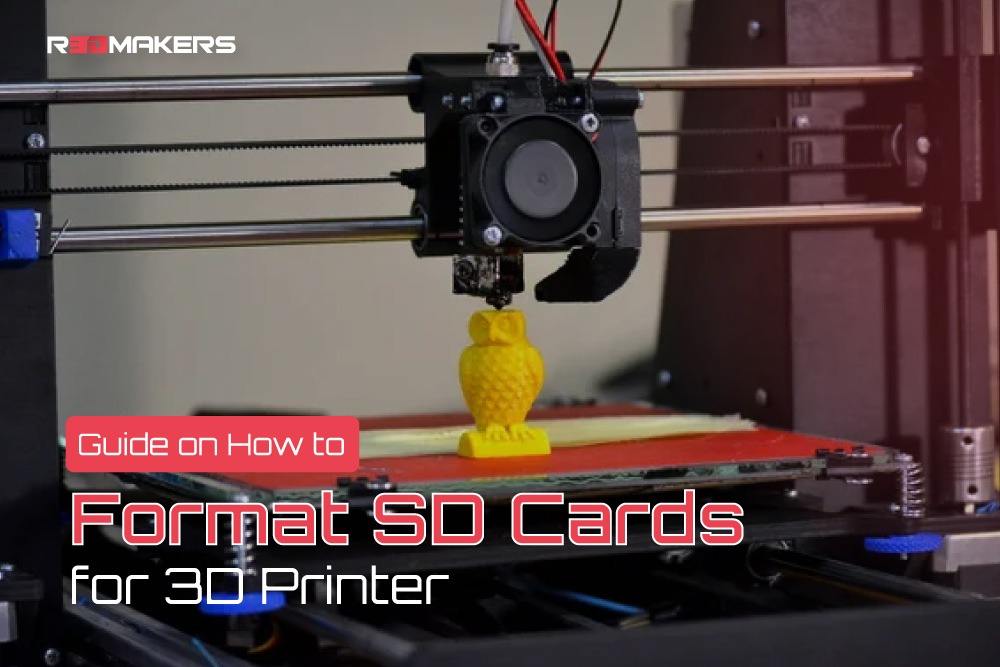
In 3D printing, the excitement lies in creating intricate designs and witnessing their physical formation layer by layer. However, before diving into this mesmerizing world, understanding the pivotal role of the storage medium is essential. Among these, the SD card stands out due to its widespread use. Properly formatting an SD card ensures a seamless transfer of design data to the 3D printer. This process eliminates potential errors, making sure your printing endeavor goes unhindered. To make this journey smooth, we’ll guide you through the intricacies of how to format an SD card for a 3D printer.
Why is Formatting Essential?
The SD card serves as the bridge between your design software and the 3D printer. It’s this tiny gadget that holds all your imaginative designs, ready to be transformed into tangible objects. Just as we prepare any canvas before painting, it’s crucial to prepare or format the SD card for the 3D printer. Incorrectly formatted cards can lead to errors, failed prints or even damage to the printer. It’s akin to building a house; without the right foundation, even the most magnificent structures can crumble.
Recognizing the Need for Formatting
Before learning how to format an SD card for 3D printing, it’s essential to grasp the indicators that hint towards this need. Not every hiccup in 3D printing can be attributed to design flaws. Signs that indicate the need for formatting include:
-
- The printer is unable to read the card. This is often the first indicator that the SD card needs to be formatted.
-
- Files or designs not showing up, making you wonder where your saved designs disappeared.
-
- Corrupted files on the card, which can potentially disrupt the printing process.
-
- Identifying these issues early can save time and resources.
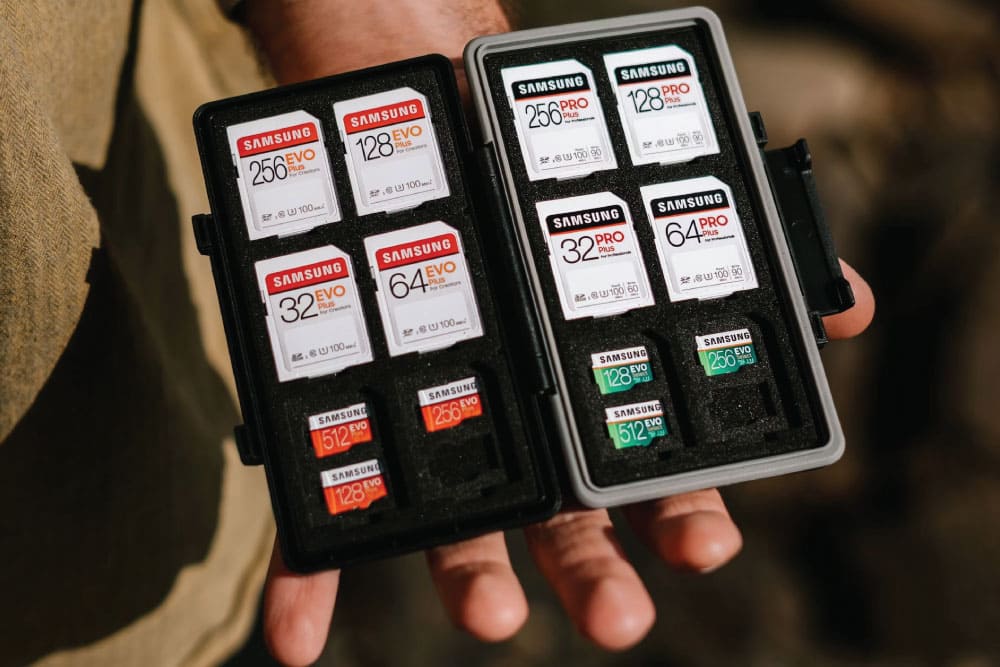
Choosing the Right SD Card
All SD cards are not created equal. The market is flooded with a myriad of options, each boasting unique features. Before diving into the 3D printer SD card format, ensure you have the right card for your printer model. Some printers require specific sizes, while others might have speed or brand preferences. It’s similar to choosing the right fuel for a car; the performance can be significantly affected by this choice.
Step-by-Step Guide to Formatting SD Card for 3D Printer
Now, let’s dive deeper. Here’s an enriched guide on how to format SD card for 3D printer:
a. Insert the SD Card into Your Computer
Whether you’re using a laptop or desktop, most modern computers come equipped with an SD card slot. If not, don’t fret. External SD card readers are affordable and easy to use.
b. Backup Essential Data
Before formatting, ensure all crucial data from the SD card is backed up. Remember, the formatting process is irreversible. Saving essential files elsewhere will give peace of mind.
c. Locate the SD Card on Your Computer
For Windows users, open ‘My Computer’ or ‘This PC’. Mac users can find the SD card usually on the desktop or ‘Finder’ sidebar. It’s crucial to ensure you’re accessing the correct drive to prevent data losses elsewhere.
d. Right-click (Windows) or Ctrl+click (Mac) on the SD Card
A dropdown menu will unveil various options. Select ‘Format’ on Windows or ‘Erase’ on Mac. This step is the gateway to the actual formatting process.
e. Choose the File System
The 3D printer SD card format typically requires a FAT32 file system. However, always refer to the printer’s manual, as certain models might have unique requirements. Ensuring compatibility at this stage is crucial for smooth operations later.
f. Begin Formatting
Click on the ‘Start’ button (Windows) or ‘Erase’ button (Mac). A warning pop-up serves as the last checkpoint, reminding that all data will be lost. Ensure you’re ready to proceed before confirming.
g. Eject the SD Card Safely
Once formatted, right-click (or Ctrl+click) and select ‘Eject’. This step is vital. Safely removing the SD card ensures that data structures remain intact and no corruption occurs.
Post-Formatting Tips
-
- After successfully formatting the SD card for 3D printing, your responsibility doesn’t end. To ensure longevity and efficiency:
-
- Always safely eject the SD card. This habit preserves the integrity of your data.
-
- Regularly back up your design files. This habit ensures that you always have a backup in case of unforeseen issues.
-
- Avoid overloading the SD card. Overburdening can lead to slow reading times and potential errors. It’s always better to have some free space.
Troubleshooting
-
- Despite meticulous care, if issues persist after formatting the SD card for your 3D printer, a deeper dive is required. Technology can sometimes be unpredictable. If you’re still facing problems:
-
- The SD card might be physically damaged. Just like any other electronic, wear and tear are common, necessitating replacement.
-
- Your 3D printer might require a firmware update. Keeping your equipment up-to-date is crucial.
Conclusion
The role of an SD card in 3D printing might seem minimal, but it’s a linchpin in the entire process. It’s the vessel that carries your creative designs to the printer. Knowing how to format SD cards for 3D printer not only ensures smooth printing operations but also prolongs the printer’s life. This technical aspect, once mastered, becomes second nature, letting you focus on what truly matters: bringing your designs to life. With this comprehensive guide in hand, you’re now well-equipped to handle any SD card challenges that come your way. Happy printing!