Enhancing 3D Print Paint: A Guide to Painting PLA Models
Enhancing the surface of 3D print paint is essential to achieve a showroom-worthy finish. This guide explores the process of painting PLA and ABS models, covering basic smoothing techniques and providing useful tips. Spray painting is preferred for its efficiency and cost-effectiveness. Let’s dive into the artistic world of 3D print painting!
Best Paints for 3D Prints
When it comes to 3D print paint, specifically for PLA models, you can choose from various categories based on their solvent, such as oils, enamels, lacquers, and acrylics. As a beginner, it’s wise to start with acrylic paints, known for their fast drying time and easy cleanup with water. When deciding on the application method for PLA paint, consider using spray paints as they strike a clean balance between affordability and ease of use, ensuring a smoother and more even coat on your 3D prints.
Smoothing Your 3D Prints
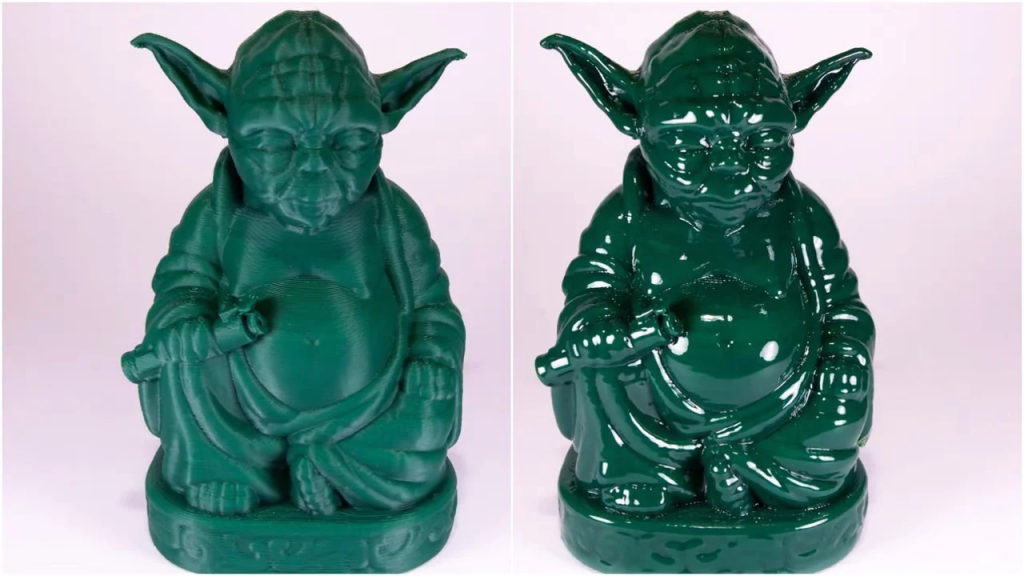
Pre-sanding is the initial step in post-processing your 3D print. It involves removing rough print features like support stubs before sanding. Tools like a craft knife, sandpaper, tweezers, toothbrush, or pliers can be used for this stage. The goal is to create a clean surface, free of protrusions and bumps. When sanding, start with 120-grit sandpaper and work your way up to finer grits. Focus on the sides, avoiding edges and fine details. As you progress, use water with higher grits to prevent clogging and achieve a smoother finish. Remember to periodically feel the surface to assess smoothness. Once satisfied, use a brush and water to wash away debris.
Priming 3D Printed Models
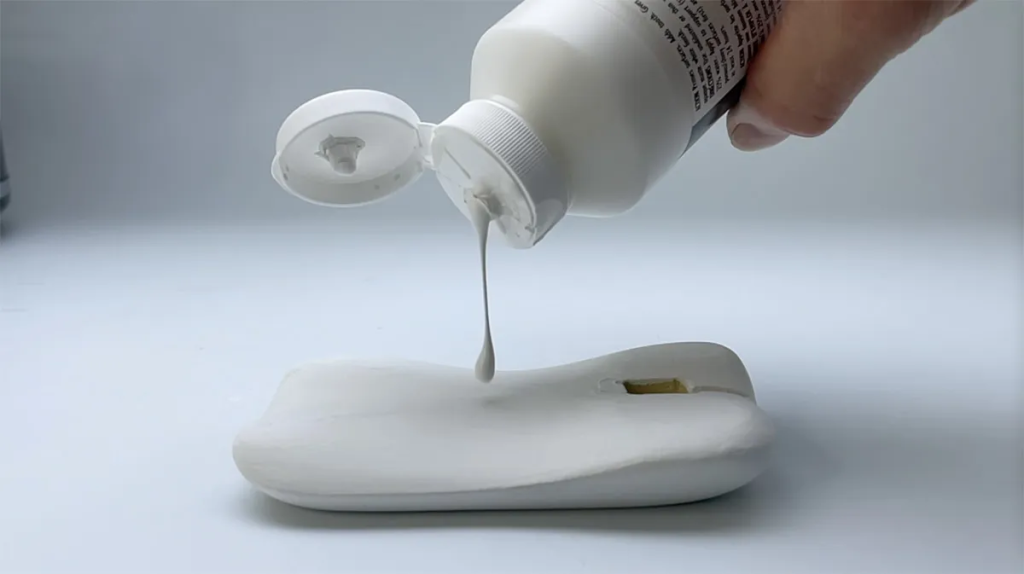
Priming is crucial for achieving a professional finish on your 3D print before painting. To begin, choose a compatible spray-on primer for even coverage. Mix the primer by swirling it for a few minutes.
- Apply the first coat with short, rapid strokes, and inspect for any imperfections that may require sanding.
- Use spot putty if needed, ensuring not to lose any detail.
- After curing, add a final light coat with quick bursts to avoid filling fine details.
- Allow the primer to dry before proceeding. Usually, two coats are sufficient for a clean surface finish, and some opt to use primer alone without additional painting.
- With the final primer coat applied, your part is now ready for painting.
Painting Techniques for 3D Prints
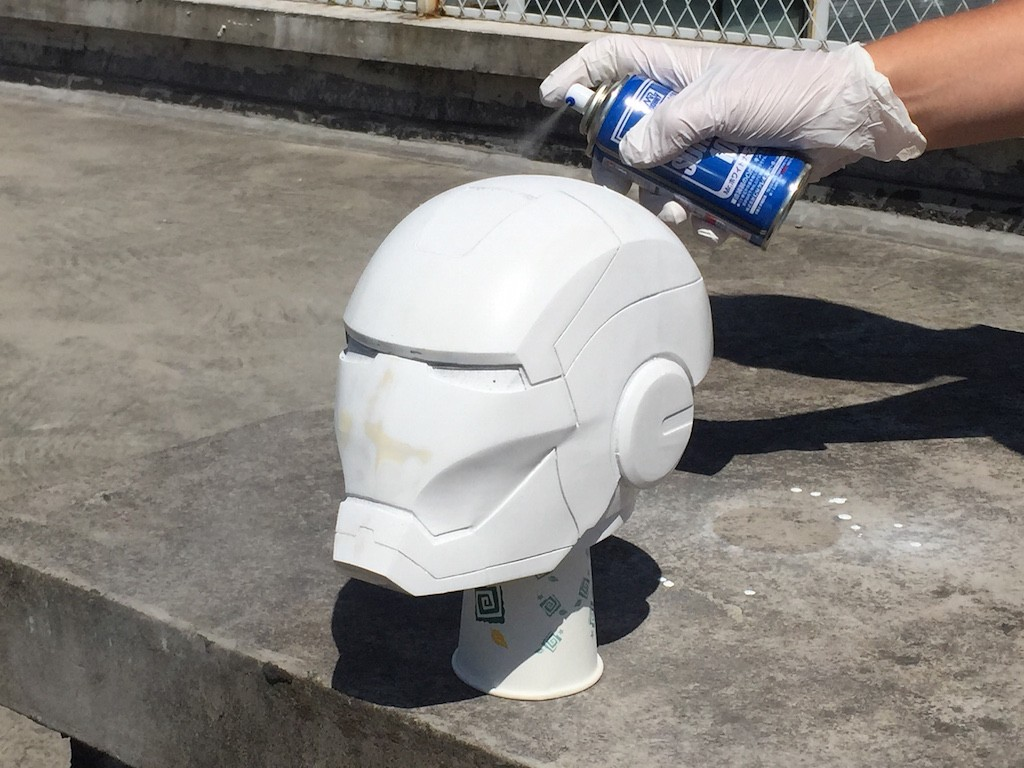
Before painting PLA, envision the finish you desire for your 3D print. Gather the following materials: painter’s tape for masking, Tamiya spray paints for their excellent plastic compatibility and color range.
Application Steps for How to Paint PLA:
1. Begin with two light coats of spray paint, followed by three or four wet passes with 5-10 minutes between each to avoid sagging.
2. For added refinement, buff and polish the paint surface to maintain a smooth, glossy finish, though this step is optional.
3. Apply topcoats over the previous coats, allowing each layer to sit briefly before assessing color saturation.
4. Optionally, finish with a clear coat to protect the paint and achieve the desired sheen. Apply one or two thin, even layers, waiting 10 minutes between applications.
5. For an extra glossy finish, polish with wax or a fine polishing compound.
6. Allow the paint to dry overnight, then clean the part the next day using a tack cloth.
With these steps, you can achieve a beautiful painted finish for your PLA 3D print.
Key Tips for Using 3D Print Paint
1. Masking: Remove the tape immediately after masking to maintain clean, sharp edges between colors. The tape prevents paint from seeping through.
2. First Coat: Use a first coat to block the neutral primer color and achieve rich color. White is great for light shades, while black suits darker tones.
3. Topcoats: Topcoats are optional. If you desire contrasting colors and gradients, add them. Otherwise, go easy on the topcoat to let the first and second coats shine.
4. Layering: Complex parts may require multiple layers. Start with the first coat as the foundation and adjust techniques to highlight details, create reflections, or achieve a weathered appearance.
By following these tips, you can achieve a stunning paint finish for your 3D prints.
Conclusion
In conclusion, painting 3D prints is a rewarding process that can elevate the appearance of your creations to a professional level. By following the step-by-step guide on how to paint 3D prints, from envisioning the desired finish to selecting the right materials like painter’s tape and Tamiya spray paints compatible with 3D prints, you can achieve a flawless surface and vibrant colors.
Remember to pay attention to masking, first coats, and optional topcoats to achieve the desired color effects and gradients. Layering can be used to highlight details and add unique touches to your painted 3D prints.
With patience and practice, you can create stunning and visually appealing models that showcase your artistic flair. So, let your creativity flow and enjoy the artistic journey of painting your 3D prints. Happy painting!


