Unveiling the World of 3D Printer Enclosures
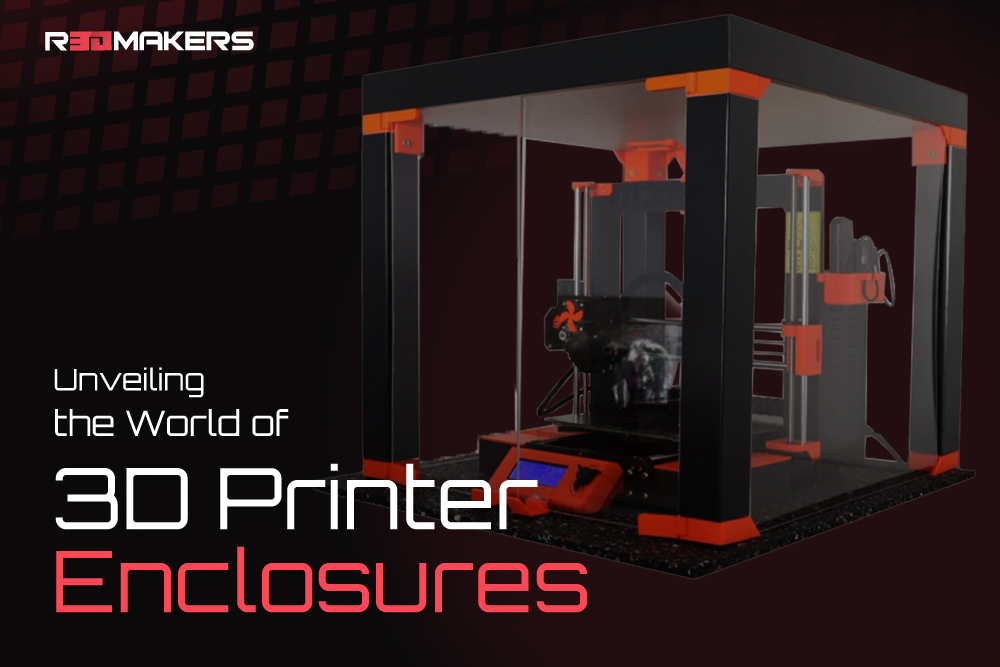
In the exhilarating domain of 3D printing, there’s more to the process than just selecting a design and hitting the ‘print’ button. The environment in which you print can significantly affect the final result. Enter the world of the 3D printer enclosure, a solution to many printing woes. A 3D printer without the right enclosure is like a fish out of water; it can function, but not optimally. External elements like air drafts can tamper with the precision and final output. Hence, investing in an enclosure, or better yet, creating one, is paramount.
Why the Need for a 3D Printer Enclosure?
A 3D printer enclosure serves several purposes:
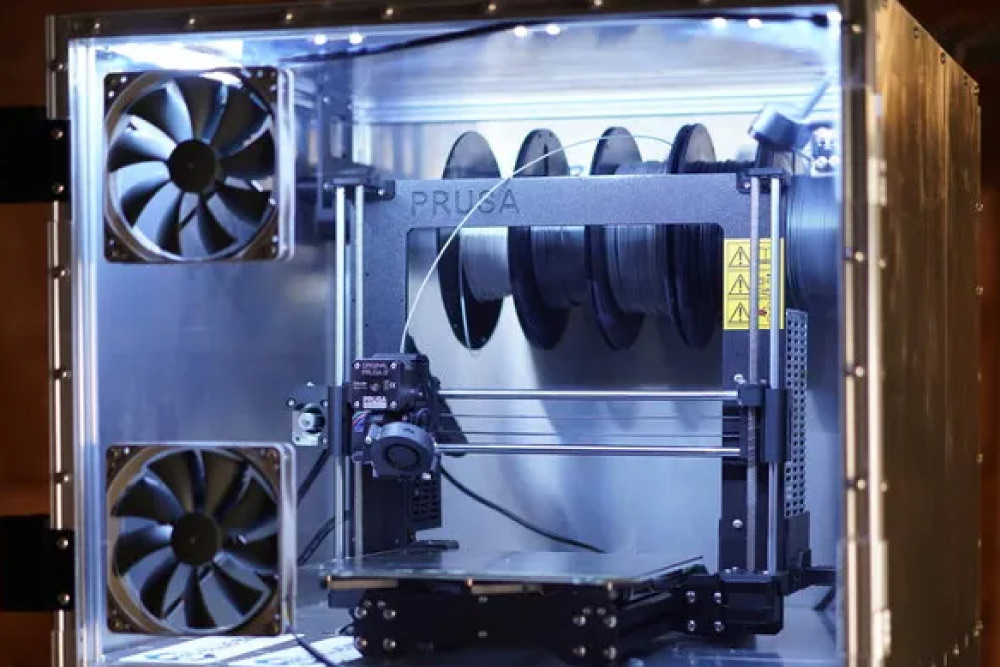
Temperature Control: By maintaining a consistent temperature, an enclosure ensures that prints, especially those made from materials like ABS, don’t warp.
Dust and Particle Shield: A printer enclosure acts as a protective barrier against dust and other particles, which can potentially spoil a print.
Safety: For homes with children or pets, an enclosure can be a safety measure, preventing accidental contact with the hot parts of a printer. Moreover, the noise reduction benefit of an enclosure can’t be overlooked; it can muffle the constant humming of the printer. This is especially useful if you print in a shared or quiet space. The added security also prevents any inadvertent interruptions during the printing process.
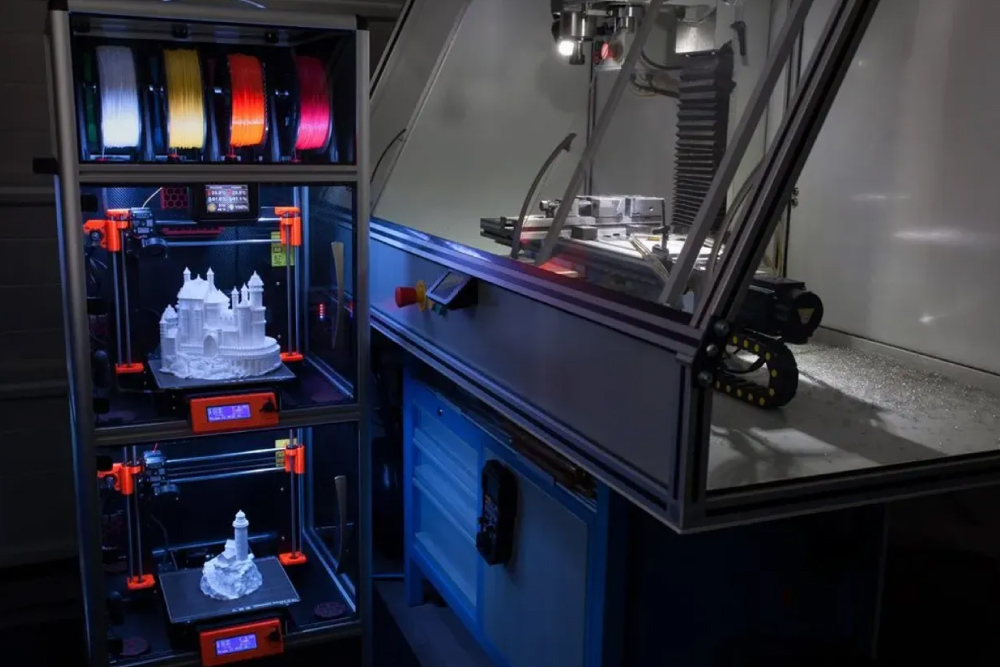
DIY Guide: Building Your Own 3D Printer Enclosure
Creating a DIY 3D printer enclosure can be both cost-effective and satisfying. Let’s explore some of the ways you can craft one yourself:
Repurposed Furniture: Believe it or not, a piece of furniture can be a great starting point. The popular IKEA Lack table, for instance, is a favorite among 3D printing enthusiasts. By stacking two of these tables and using plexiglass or acrylic sheets for the sides, one can easily craft a 3D printer cabinet. Not only does this method save money, but it also offers a stylish look to your printing station. Some enthusiasts go the extra mile, painting and decorating their repurposed enclosures. It’s an excellent example of blending tech with home decor.
Plastic Storage Bins: Another budget-friendly DIY enclosure is made using a plastic storage bin. The advantage of this method is its adaptability. You can select a bin size that fits your printer perfectly. Once you have the bin, cut out a front panel and replace it with a transparent material, like acrylic, for visibility. These bins are readily available and versatile. Their lightweight nature also means you can easily move your setup if required, offering a blend of protection and portability.
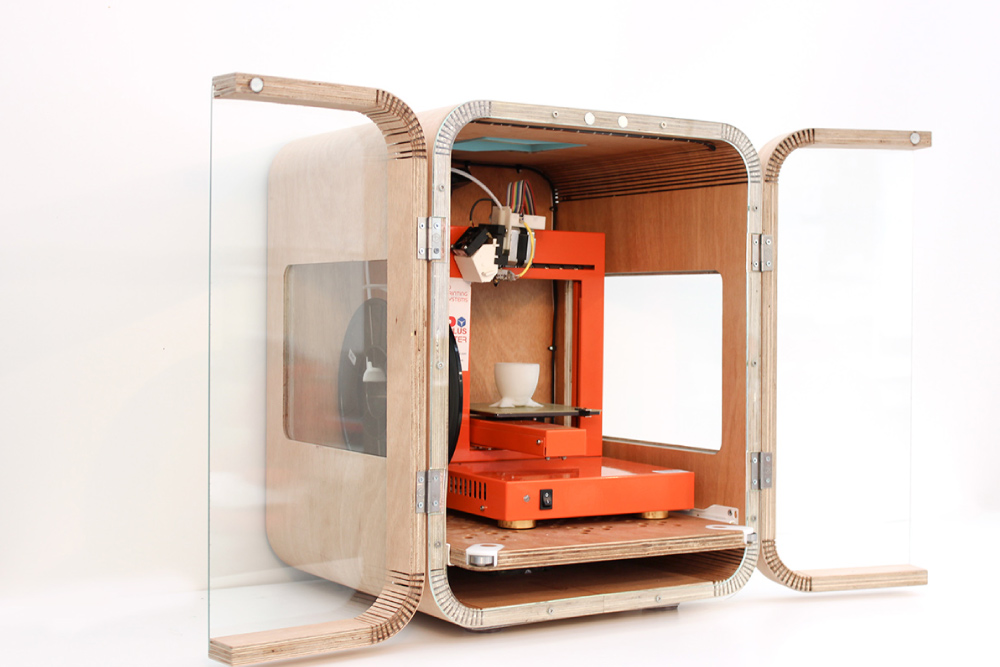
Wooden Frames: For those who have a knack for woodworking, constructing a wooden frame can be both a fun project and a highly customizable 3D printer enclosure DIY option. By using wooden panels and integrating transparent panels on the sides or front, you can create a sturdy and visually appealing enclosure. Wood provides an aesthetic charm that can complement any workspace. Plus, the robust nature of wood ensures longevity and sturdiness, making it a popular choice for many.
Enhancing Your 3D Printer Cabinet with Accessories
Once you have your basic printer enclosure, think about the features and accessories you might need:
Ventilation: Ensuring proper airflow is crucial, especially if you’re printing with materials that release fumes. Integrating a fan or ventilation system can be beneficial. Some DIY enthusiasts even incorporate filter systems to purify the air, ensuring that no harmful particles are released.
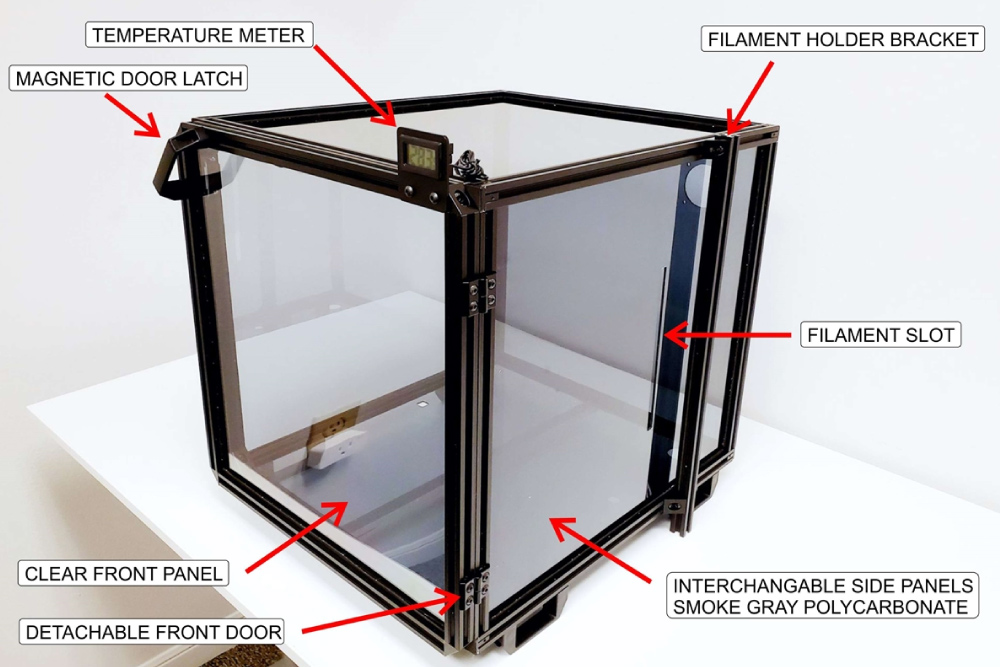
Temperature Monitoring: Consider adding a thermometer or even a smart temperature monitoring system to keep track of the enclosure’s internal temperature. Keeping an eye on the temperature can alert you to any anomalies or overheating risks. It’s always better to prevent potential problems before they escalate.
Lighting: Installing LED strips inside your DIY enclosure can not only enhance the aesthetic but also make it easier to monitor prints. Proper lighting allows you to detect any irregularities in the print job early on. Plus, colored LEDs can add a fun, personalized touch to your enclosure.
Additional Storage: If you’ve got the space, why not add shelves, hooks, or compartments for tools, filaments, and other printing accessories? Organized storage can streamline your printing process, making everything you need readily accessible. An orderly workspace can also boost productivity and reduce the chances of misplacing essential items.
Conclusion on 3D Printer Enclosures
A 3D printer enclosure, whether bought off the shelf or constructed as a DIY project, is an indispensable tool for any serious 3D printing enthusiast. It offers protection, enhances print quality, and provides a dedicated space for the printer. The DIY options mentioned, from repurposed furniture to custom-built wooden structures, are only a starting point. Delving into the DIY route is not just about saving money; it’s about personalization, tweaking, and creating a space that complements both the printer and the user. And, as with all DIY projects, there’s a unique satisfaction in crafting something with your own hands. So, if you’ve yet to get an enclosure for your 3D printer, now’s the time to get started!


