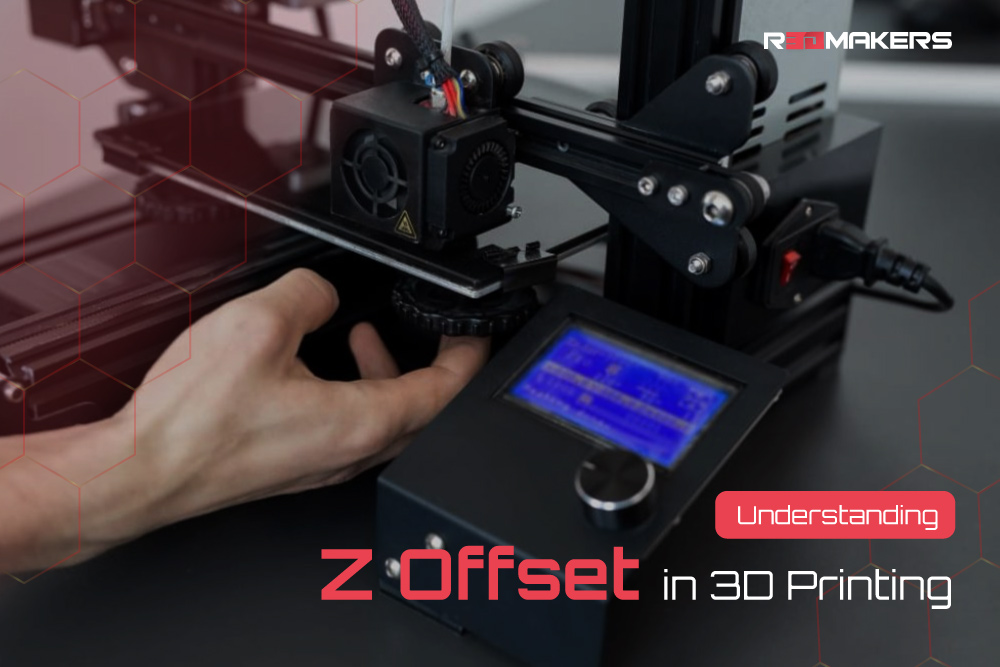
Understanding Z Offset in 3D Printing
3D printing, ensuring the accuracy and quality of a printed object revolves around precise settings and calibration. One such setting that plays a pivotal role is the Z offset. For those new to 3D printing, the term might sound foreign, but understanding and adjusting the offset is essential for achieving impeccable prints.
Every tiny detail, including the offset, contributes to the outcome of the final product. A misaligned Z offset can lead to several printing problems, while a well calibrated one can result in smooth and flawless prints. Consequently, gaining a deep understanding of Z offset will significantly improve your 3D printing skills.
What is Z Offset?
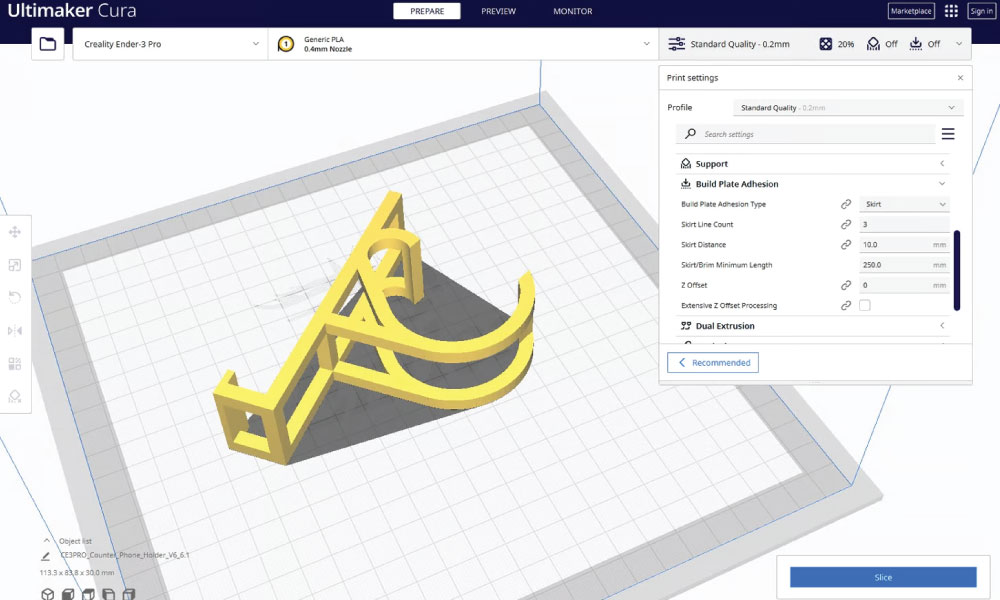
The Z offset, in 3D printing parlance, refers to the distance between the print bed and the nozzle of a 3D printer during the initial layer of printing. The “Z” denotes the vertical axis in 3D space, and the “offset” relates to the adjustment or discrepancy from a reference point. A correctly set Z offset 3D printing ensures that the first layer adheres perfectly to the print bed, leading to a successful print job.
It’s a setting that’s crucial, especially when using different materials, as each might have unique adherence properties. Furthermore, seasonal temperature changes can also affect the printer’s calibration, making Z offset 3D printer adjustments necessary. As such, periodic checks and recalibrations are advisable.
Why is Z Offset Crucial in 3DPrinting?
The foundation of any 3D printed object is its first layer. A mis-calibrated Z offset can lead to issues like poor bed adhesion, warping, or even nozzle damage. A perfect Z offset ensures:
Strong Bed Adhesion: A slightly squashed first layer, courtesy of an ideal Z offset, ensures the print sticks well to the bed, reducing chances of detachment during printing. Proper bed adhesion is prevalent as it directly affects the structural integrity of the printed object. Weak adhesion could lead to a print job failure, especially for larger prints. The right Z offset ensures stability from the very first layer.
Smooth Surface Finish: An accurate Z offset reduces unevenness in the first layer, providing a smooth foundation for subsequent layers. A smooth first layer is not only aesthetically pleasing but also crucial for prints that will be subjected to post-processing. Any inconsistencies at this stage can result in a flawed final product.
Nozzle Protection: If the offset is too low, the nozzle might scrape the bed, leading to potential damage. On the other hand, a high Z offset can cause poor adhesion. Protecting the nozzle is integral, as any harm to it can result in uneven extrusion or, worse, the need for a replacement.
How to Adjust Z Offset on Your 3D Printer
Calibrating the Z offset is a straightforward but critical process. Here’s a general guide:
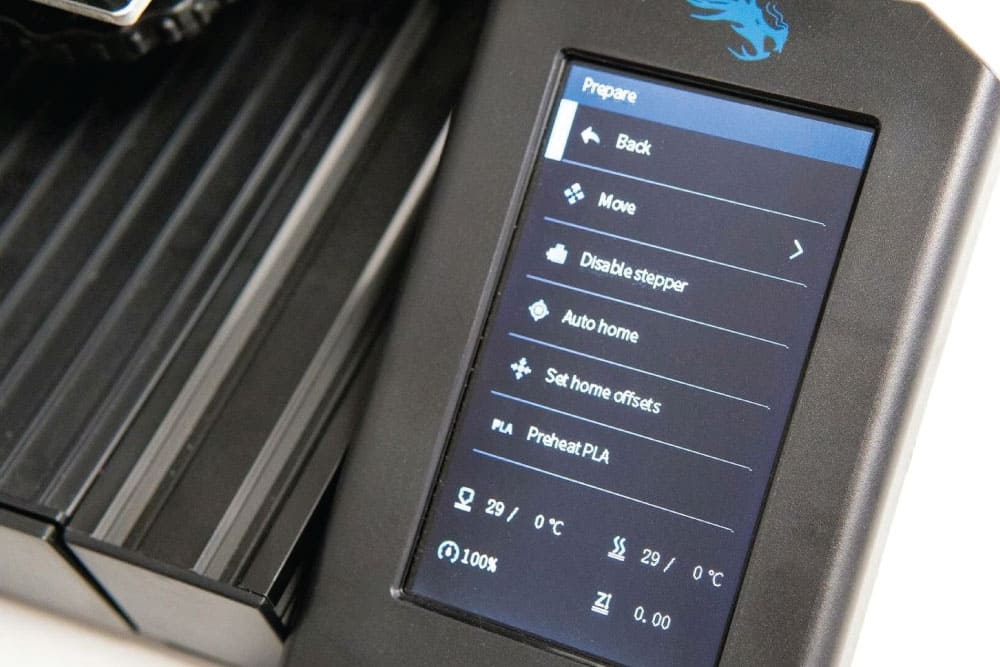
Preheat the Printer: Start by preheating your 3D printer, ensuring that both the nozzle and bed reach their respective operating temperatures. This is vital as materials expand slightly when heated. Different materials might also have varying ideal temperatures, making it essential to refer to the manufacturer’s guidelines. Regular maintenance can help in ensuring that the printer heats up to the desired temperature accurately.
Home the Axes: Use the printer’s control interface to home all axes. This ensures the printer is at its reference point. This step is pivotal, as it sets the baseline for subsequent adjustments. Ensure that there’s no debris or obstruction on the printer bed during this process. A clear and clean setup is crucial for accurate calibration.
Adjust Using Live Z Control: Move the nozzle to the center of the bed. Adjust the Z offset using the printer’s interface, lowering the nozzle towards the bed. A piece of standard printer paper can be used as a gauge. The ideal Z offset is achieved when the nozzle slightly grips the paper, offering slight resistance when moved. This paper test has been a staple in 3D printing offset because of its simplicity and effectiveness. However, one should be gentle to avoid undue pressure on the nozzle.
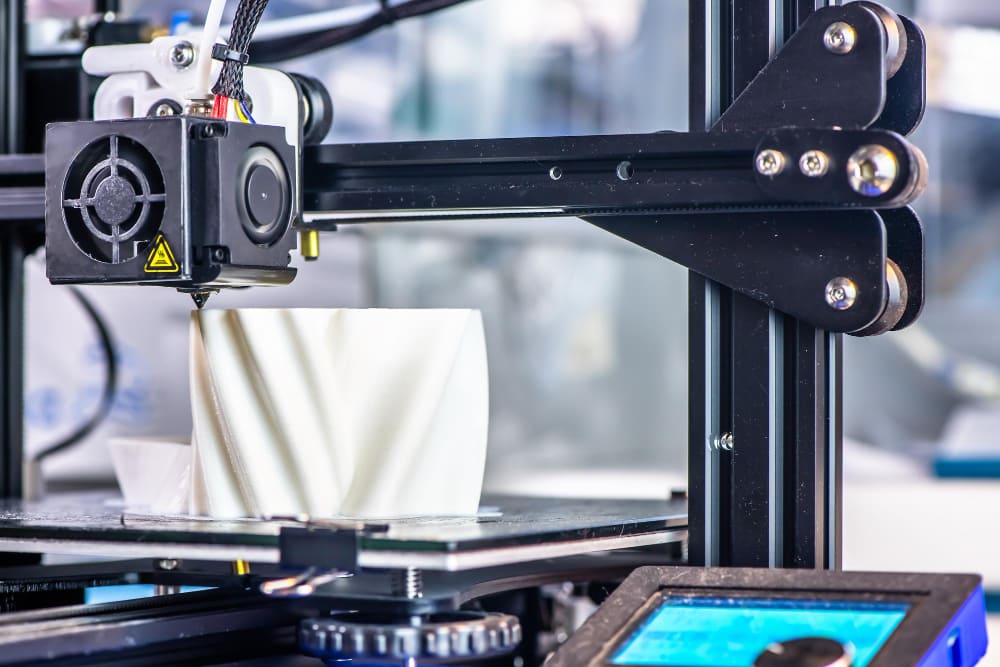
Test Print: Execute a test print to ensure the first layer adheres well and appears smooth. This test print need not be intricate; a simple flat layer or a calibration pattern will suffice. Observing how the filament lays down will provide insights into any necessary adjustments.
Tweak the Gcode Z Offset: For those familiar with G Code, a printer’s programming language, making adjustments in the Gcode Z offset can further fine-tune the printing process. However, this is more advanced and is typically used for micro-adjustments. One should approach Gcode adjustments with caution, especially if unfamiliar, as incorrect codes can lead to undesired printer behavior.
Conclusion
In the universe of 3D printing, details matter. While the concept of Z offset might seem minute, it holds significant sway over the quality and success of a print job. By understanding and mastering the offset, both beginners and seasoned 3D printing enthusiasts can ensure each printed object is a testament to precision and quality.
Regular calibration checks and fine-tuning can help maintain consistent print quality. Furthermore, with the evolution of 3D printers, software aids and automated calibration tools might make the process even more straightforward in the future. Regardless, a manual understanding remains indispensable.